Power BI Visual
Enterprise XLCubedWeb users can now embed and link XLCubedWeb reports into PowerBI reports
Contents
[hide]Pre-requistes
- You need the custom visual, please contact support@xlcubed.com with the full URL of your XLCubedWeb server (as entered by the users)
- The XLCubedWeb server must be running as HTTPS
- You will need to be running V9.1.47 or above
- You need to be licensed for an Enterprise XLCubedWeb server
- Using PowerBI cloud or PowerBI Report Server (March 2018 or later)
Preparing XLCubedWeb
As PowerBI and XLCubedWeb will be hosted on different servers you need to enable cross-domain access (CORS) on XLCubedWeb, this will allow PowerBI to intergrate correctly with XLCubedWeb.
Set Handler order
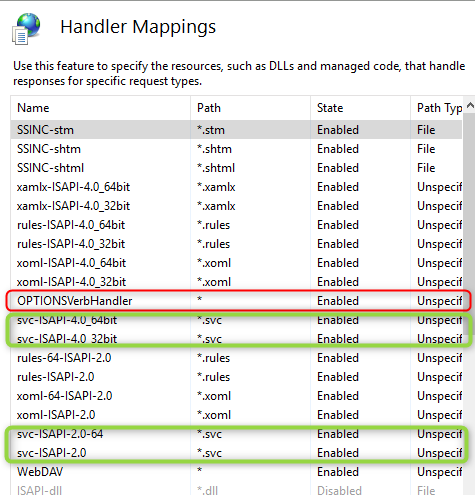
In IIS (Internet Information Server) Manger on the XLCubedWeb server, go to the XLCubedWeb Application and "Handler Mappings":
Click "View Ordered list":
You need to ensure "OPTIONSVerbHandler" appears above all the *.svc entires:
Please note: after changing the order please go back to "Unordered List" and then "Ordered List" to ensure it is in the correct place, you may need to do this a few times to ensure it saves.
Add custom headers
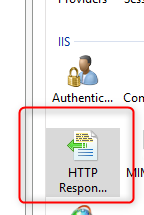
You will need to add the following headers under "Http Response Headers":
Access-Control-Allow-Origin null
Access-Control-Allow-Headers Accept,X-Requested-With,X-Prototype-Version,Content-Type,Cache-Control,Pragma,Origin,Set-Cookie,Cookie
Access-Control-Request-Method POST
Access-Control-Allow-Methods GET, POST, PUT, DELETE, OPTIONS
Access-Control-Allow-Credentials true
or via the web,config:
<system.webServer>
   <defaultDocument />
   <httpProtocol>
     <customHeaders>
               <remove name="X-Powered-By" />
               <add name="Access-Control-Allow-Origin" value="null" />
               <add name="Access-Control-Allow-Headers" value="Accept,X-Requested-With,X-Prototype-Version,Content-Type,Cache-Control,Pragma,Origin,Set-Cookie,Cookie" />
               <add name="Access-Control-Request-Method" value="POST" />
               <add name="Access-Control-Allow-Methods" value="GET, POST, PUT, DELETE, OPTIONS" />
               <add name="Access-Control-Allow-Credentials" value="true" />
     </customHeaders>
   </httpProtocol>
Using the custom visual
Inserting a report
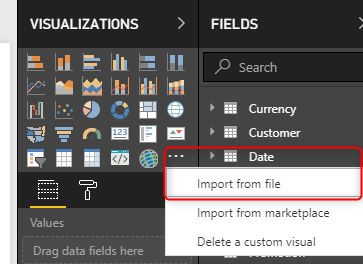
While editing a PowerBI report, go to the "Import a custom visual" option under visualizations:
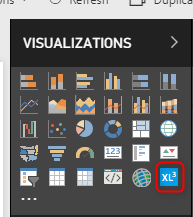
Browse to the custom visual and select the custom visual package, you will get a new Icon under visualizations:
You can use this to insert a report object:
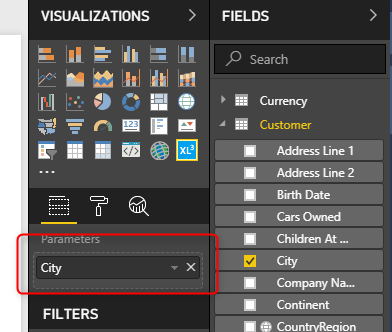
Add a parameter to the control:
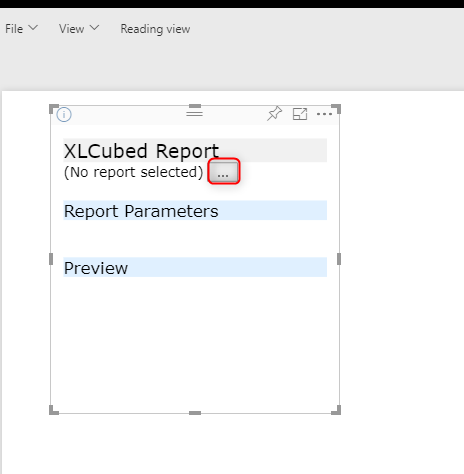
You can now select a report from your web server:
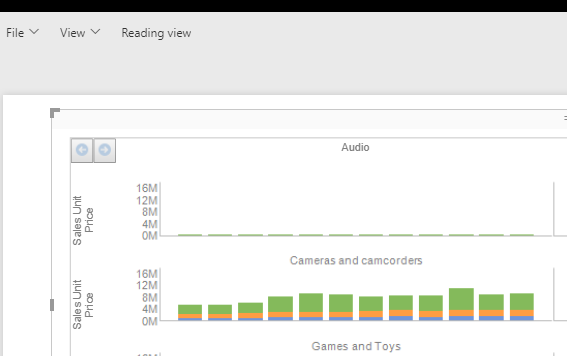
And it will be embedded:
Linking reports via web parameters
When linking to fields on the report, the value for this will be passed to the report via any Web Parameters that match the attribute name
Other options
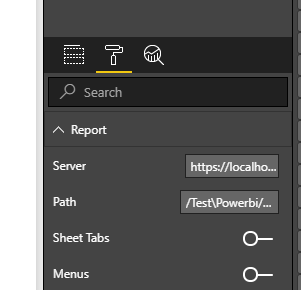
You can set other options for the visual, such as the server name, whether to show sheet tabs etc.:


